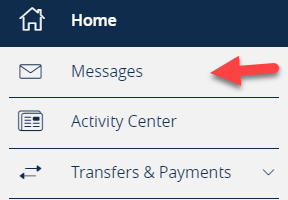
- Select the ‘Messages’ menu.
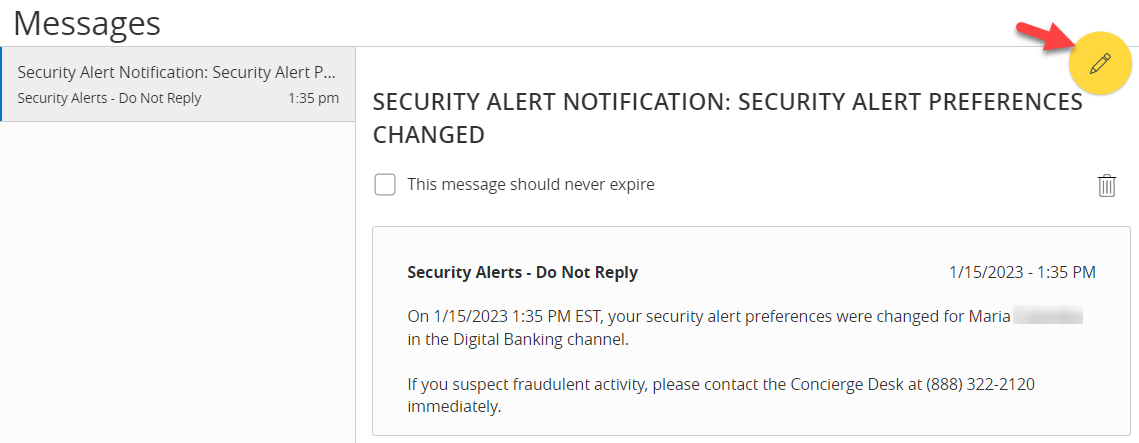
NOTE: Both incoming and outgoing messages will appear in the column directly to the right of the menus in descending date order (newest on top). - Click pencil icon on the right side of the screen.
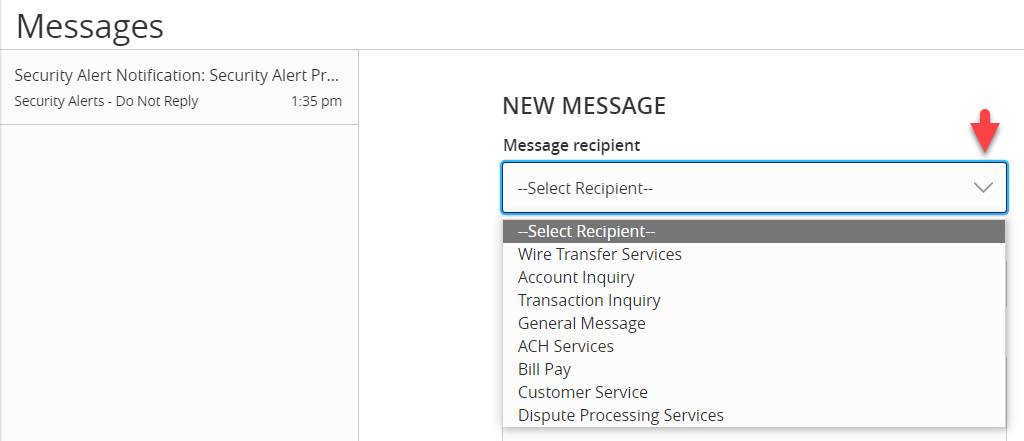
- Select the appropriate "Message recipient" from the drop-down menu.
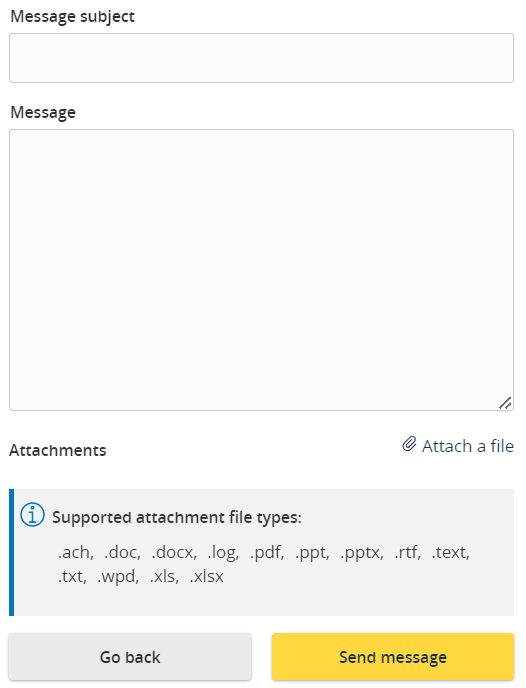
- Enter the desired "Message Subject" and "Message".
- Click the ‘Attach a file’ link to attach a file or document if desired.
- Click ‘Send Message’ at the bottom of the screen to submit the message.
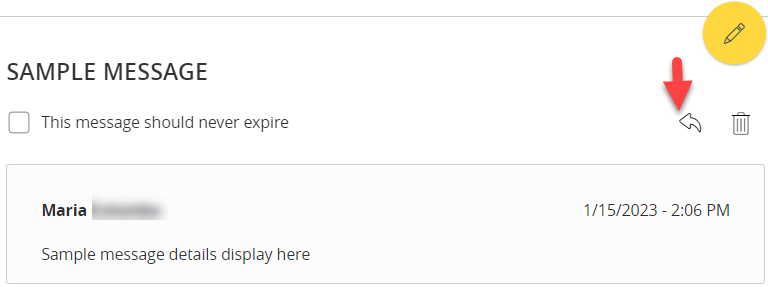
- Select the arrow icon beneath the pencil to reply to a secure message or the trash bin to delete the message.
Find anything about our product, search our documentation, and more. Enter a query in the search input above, and results will be displayed as you type.
Searching... 
Resource center
Resource Categories
Secure messages
09/03/19Additional Resources
Digital Banking end-user system requirements
Resource Library Category (Digital Banking - Getting Started)
Get an understanding of the supported browsers and devices needed to use Digital Banking features.
Enabling push notifications in digital banking
Resource Library Category (Digital Banking - Getting Started)
Instructions for enabling and disabling Push Notifications, including FAQs about Push Notifications.
Managing digital banking alerts
Resource Library Category (Digital Banking - Getting Started)
Learn the basics of setting up user-level alerts for low balance, check clearance or executed transactions.