|
Payment Templates may be created for ACH and Wire payment types.
|
NOTE:
A Payment Template allows you to save payment information that can be accessed in the future.
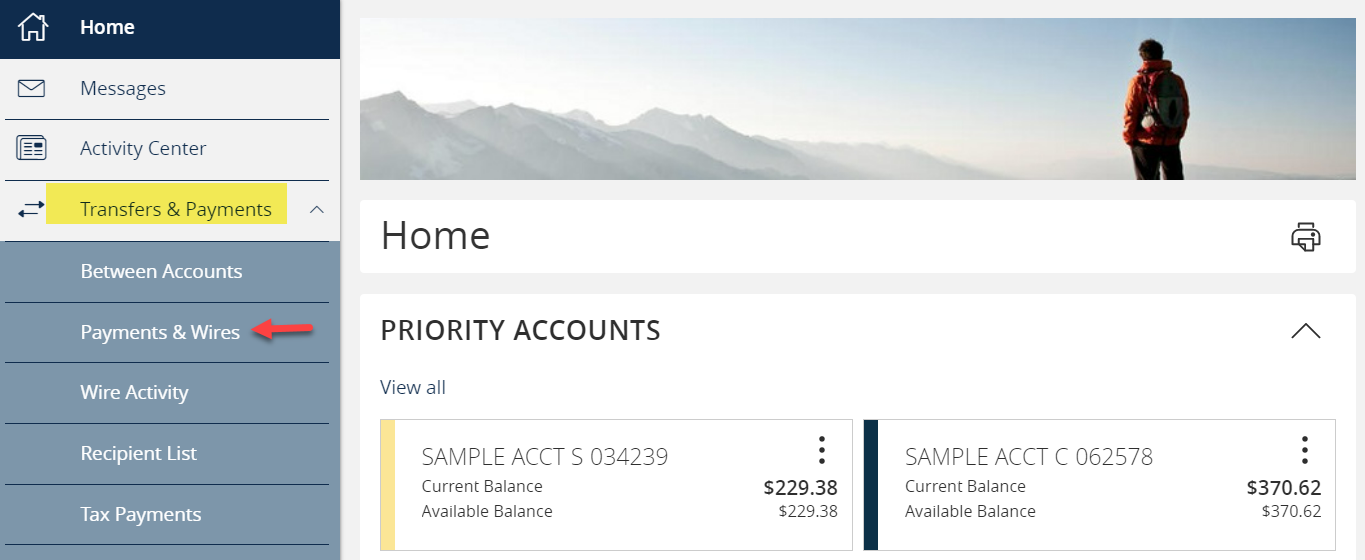
- Select the ‘Transfers & Payments’ menu and then select ‘Payments & Wires’.
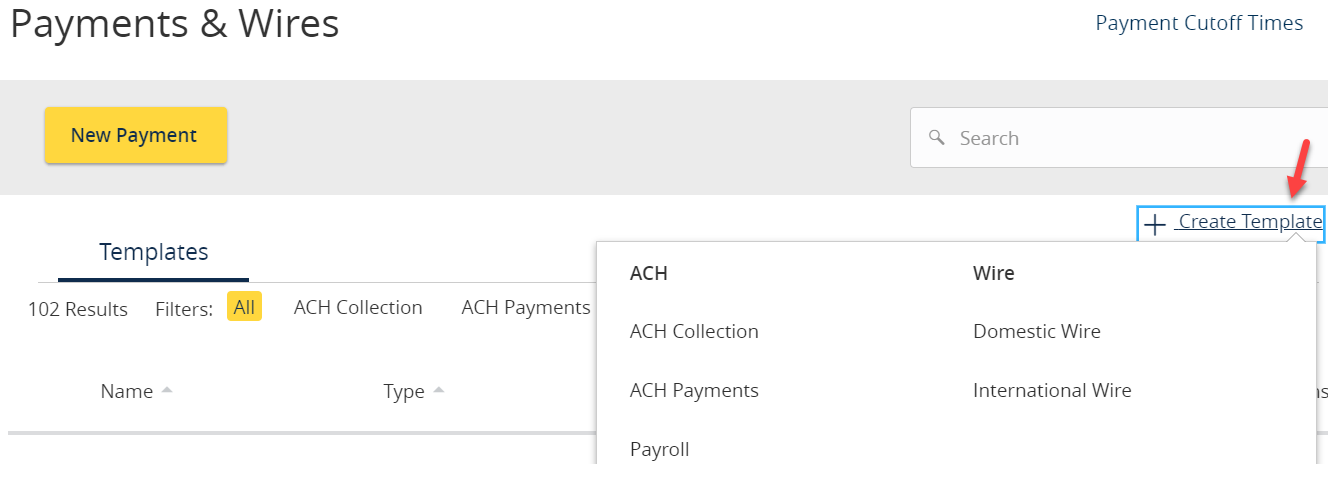
- Select ‘Create Template’ and the desired payment type
- Designate a ‘Template Name’.
- Click the link below Template Access Rights to designate the user/user roles who should have access to this template.

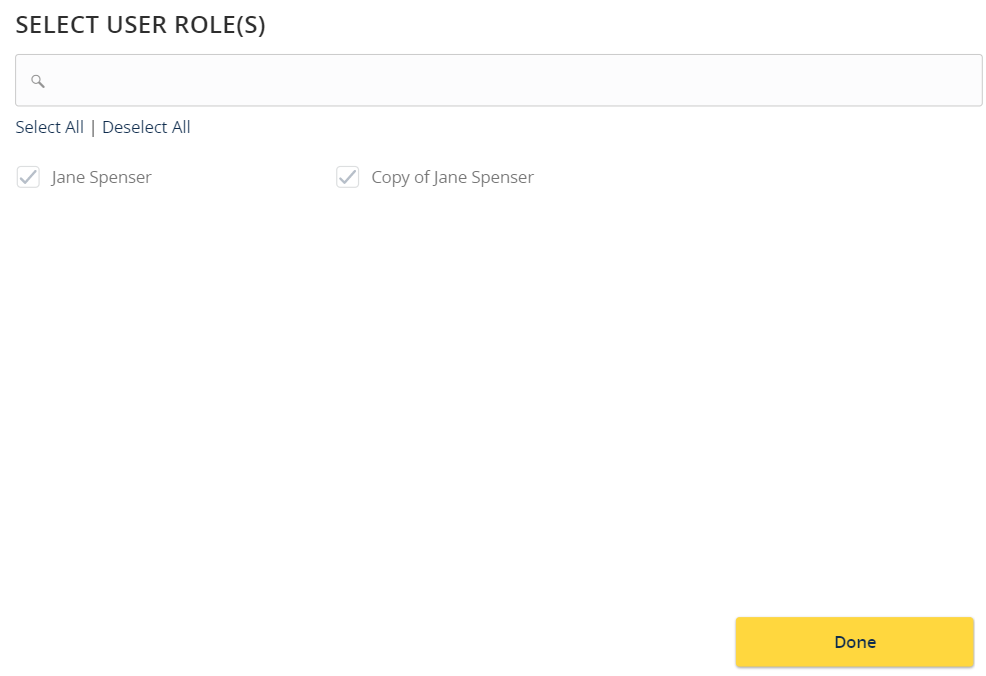
- Select the User Role(s) who should have access to the template.
- Select an ‘SEC Code’.
- Enter ‘Company Entry Description’, the recipient will see this transaction description along with subsidiary name. This is a required field.

- Select a ‘From Subsidiary’ (sender name).
- Select the corresponding offset ‘Account’.

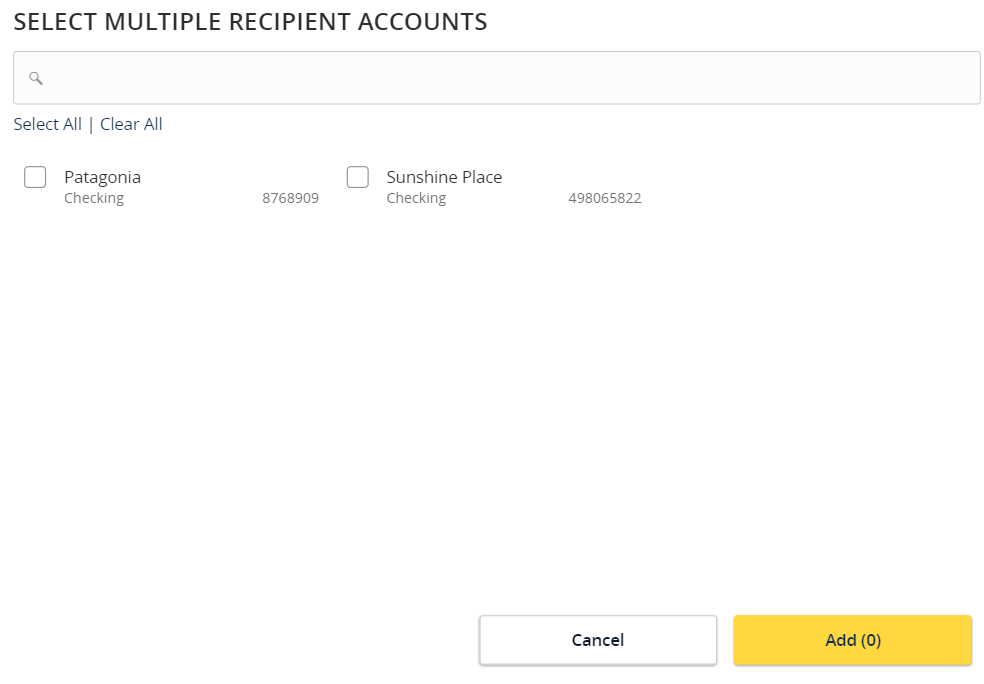
- Click the ‘+Add multiple recipients’ link to add multiple recipients to the template.

- Note: a User Role will appear as greyed out if the feature allowing access to all templates is enabled. This overrides the ability to remove template access from the corresponding User Role.
- Select the desired recipients and click the ‘Add’ button when done.
- Enter dollar amount for each linked recipient.
- Note: The amount may be left as $0.00 if the amount will differ from file to file.

- Note: The amount may be left as $0.00 if the amount will differ from file to file.
- Select Payment Actions options
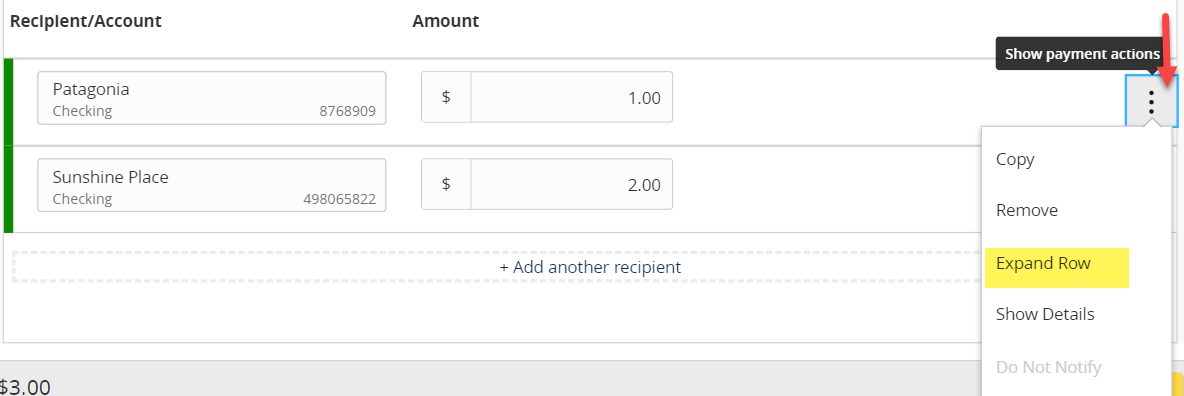
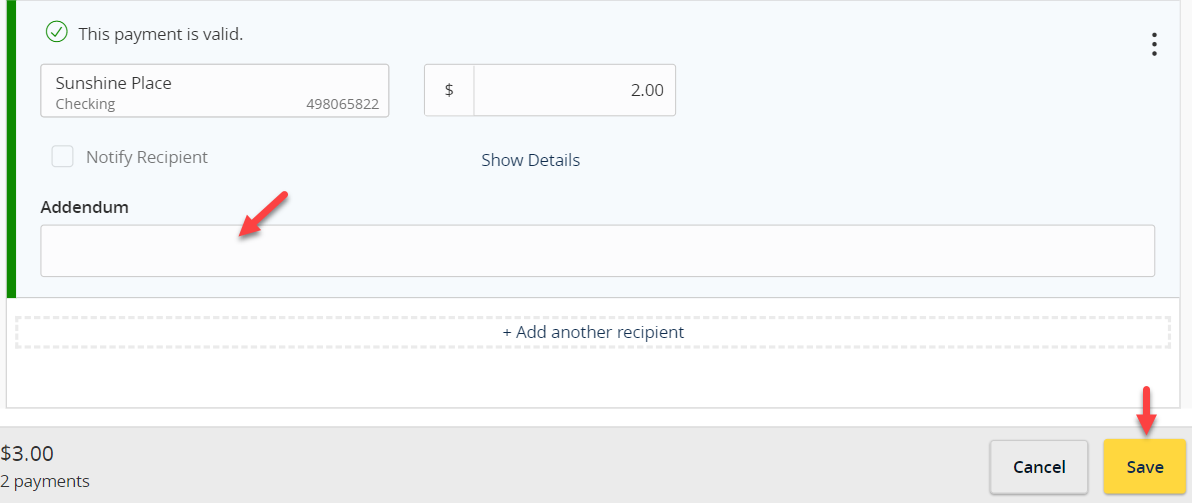
- Select ‘Expand Row’, to view and add Addenda information if applicable for ACH origination, and/or for wire transfer templates add Message to Beneficiary (OBI). This detail will save with the template for future use.
-
- ACH Addendum field maximum character length 80 including spaces
- For Wire transfer template, Message to Beneficiary (OBI) maximum character space 140 including spaces.
-
- Review the information on the screen for accuracy and then select ‘Save’.
