|
This feature is only available in Corporate Edition of Digital Banking.
|
Transfer Funds
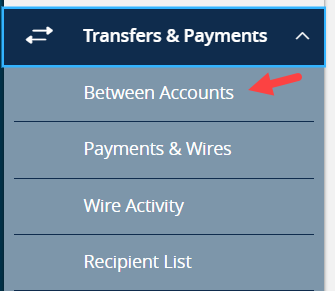
Step 1: Select the "Transactions & Payments" menu and then select ‘Between Accounts’.
Step 2: Select the "Multi-Account Transfers" tab.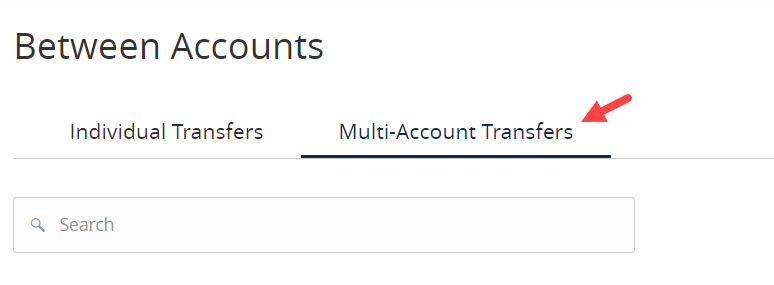
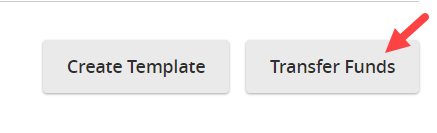
Step 3: Select "Transfer Funds".
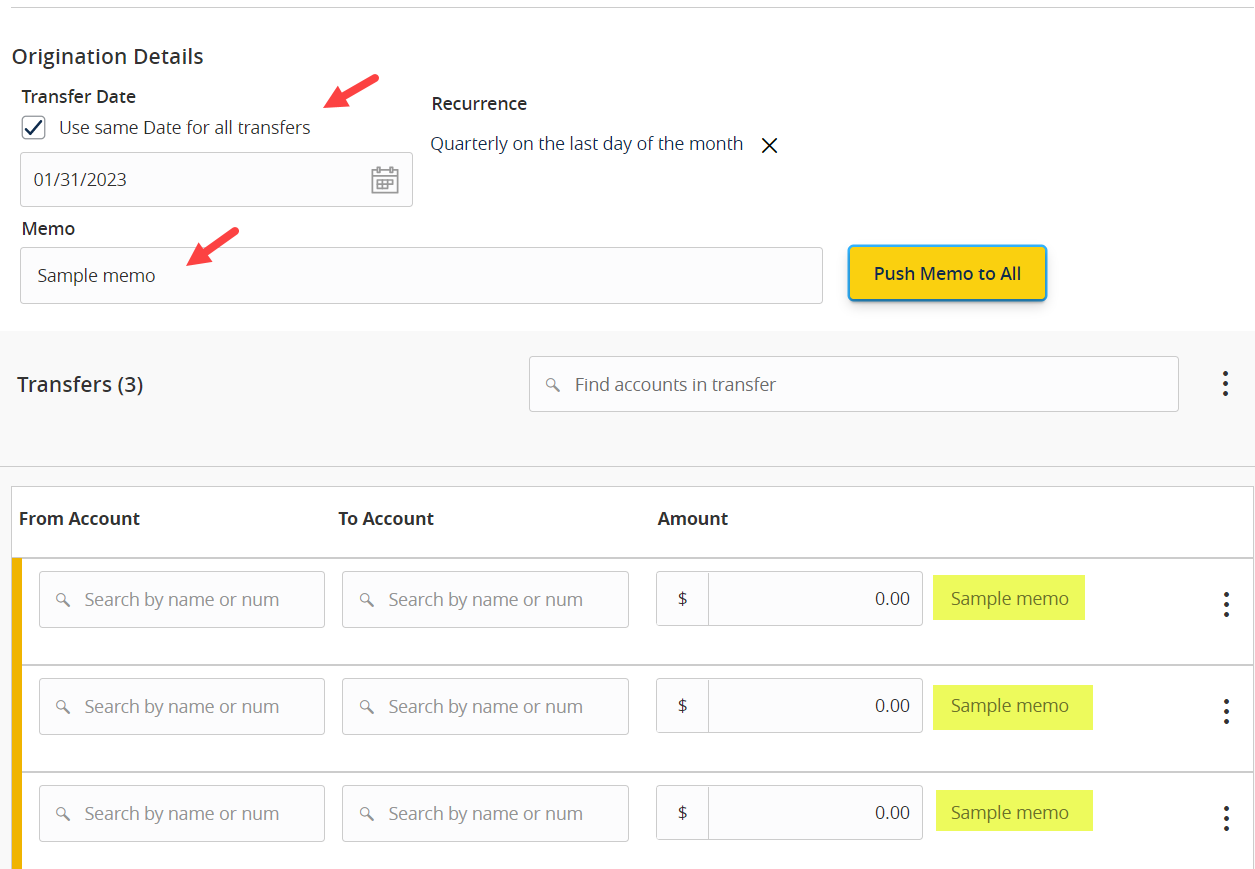
Step 4: Click the "Use same Date for all transfers" check box to automatically set the same date for all transfers being initiated. Enter optional "Memo" information and click on "Push Memo to All" to use the same memo for all the transfers.
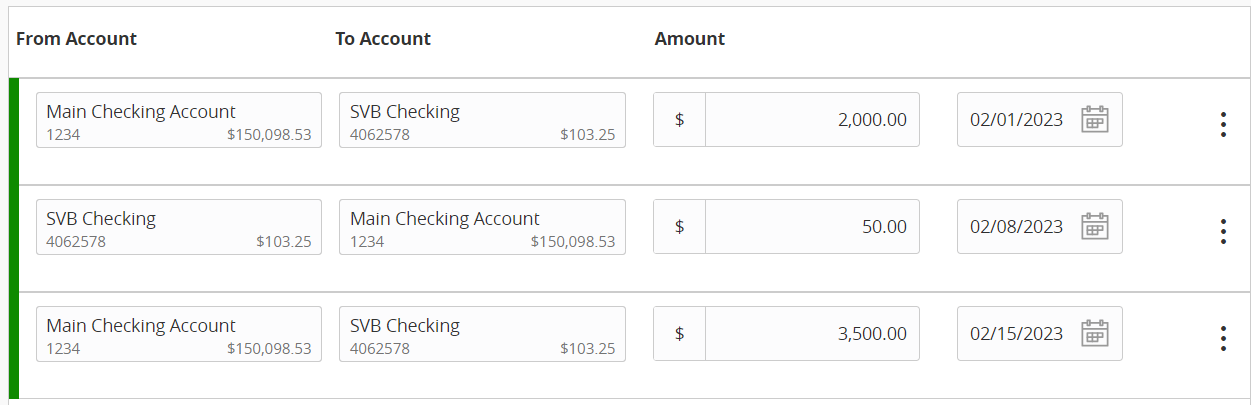
Step 5: Leave the "Use same Date for all transfers" check box unselected to individually set the date for each transfer.
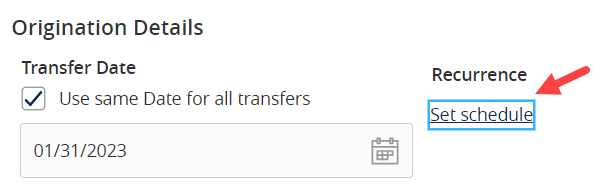
Step 6: Click the "Set schedule" link to initiate recurring transfers.
Step 7: Select how often the transaction should repeat and when the transfer should stop. Select "Forever" to setup an indefinite recurrence. Click the calendar and select a date to designate a specific date to stop the recurrence. Click "Set Recurring Transaction" to save the recurrence setup.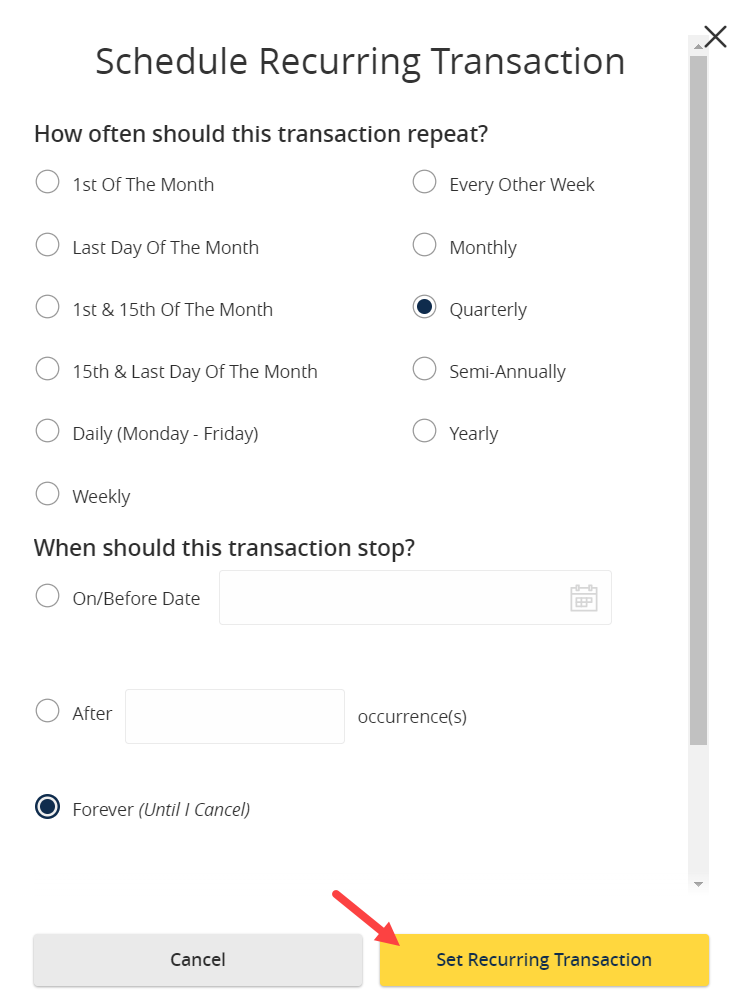
Step 8: Click "Show payment actions" on any transfer to view available options.
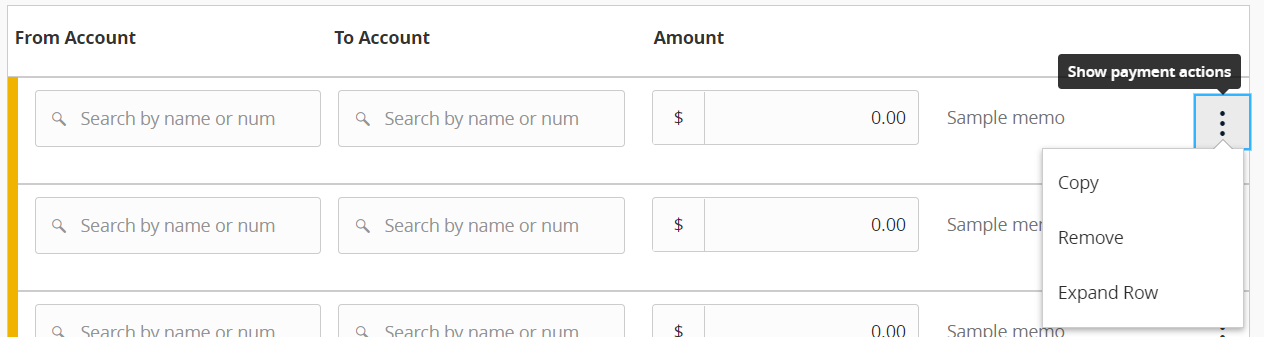
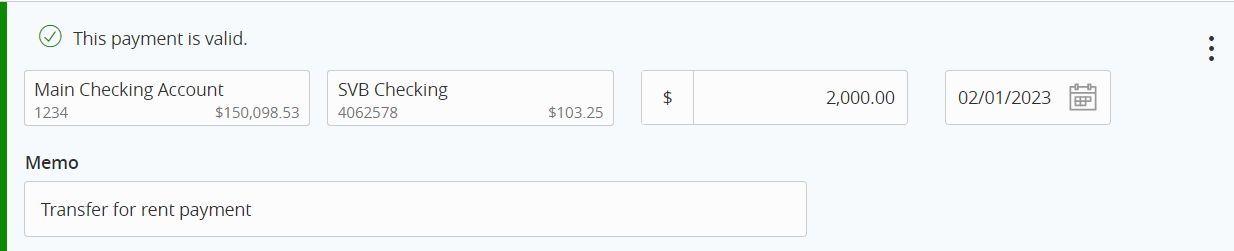
NOTE: An expanded view of the transfer can be viewed by clicking on "Expand Row".
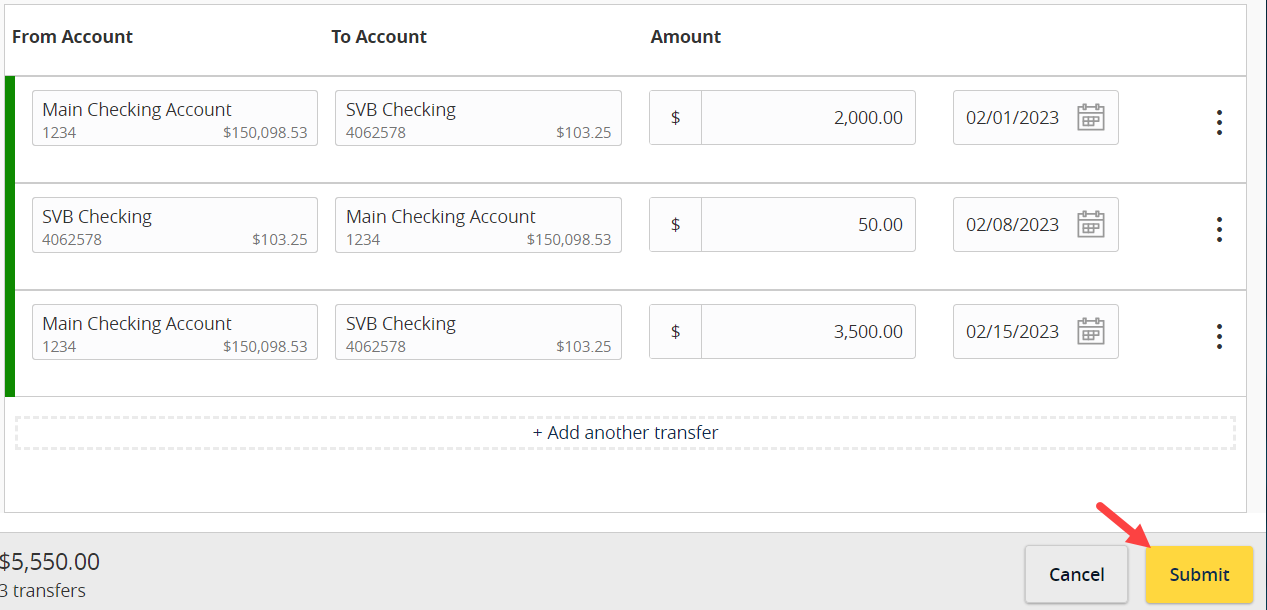
Step 9: Make sure the "From Account" and "To Account", "Amount" and "Date" for each transactions has been filled in.
Click "+Add another transfer" to add an additional transfer to the list.
NOTE: The yellow bar on the left of the table will turn green for each transaction once all required fields have been entered.
Step 10: Click "Submit" to process the funds transfers.
Transfer Templates
Step 1: Click "Create Template".

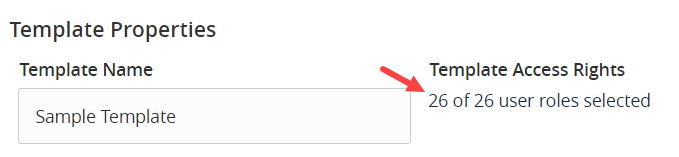
Step 2: Enter the desired "Template Name".
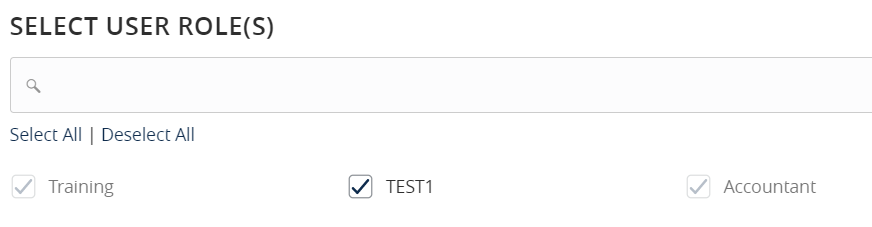
Step 3: Click the link below "Template Access Rights" to assign access additional company users.
NOTE: If a User Role is grayed out on the "Select User Role(s)" page, this is due to the "Access to all payment templates" feature being tuned on within the corresponding User Role. Reference the User Roles Feature Guide for more instruction on the setup of User Roles.
Step 4: Click ‘Done’ when complete.
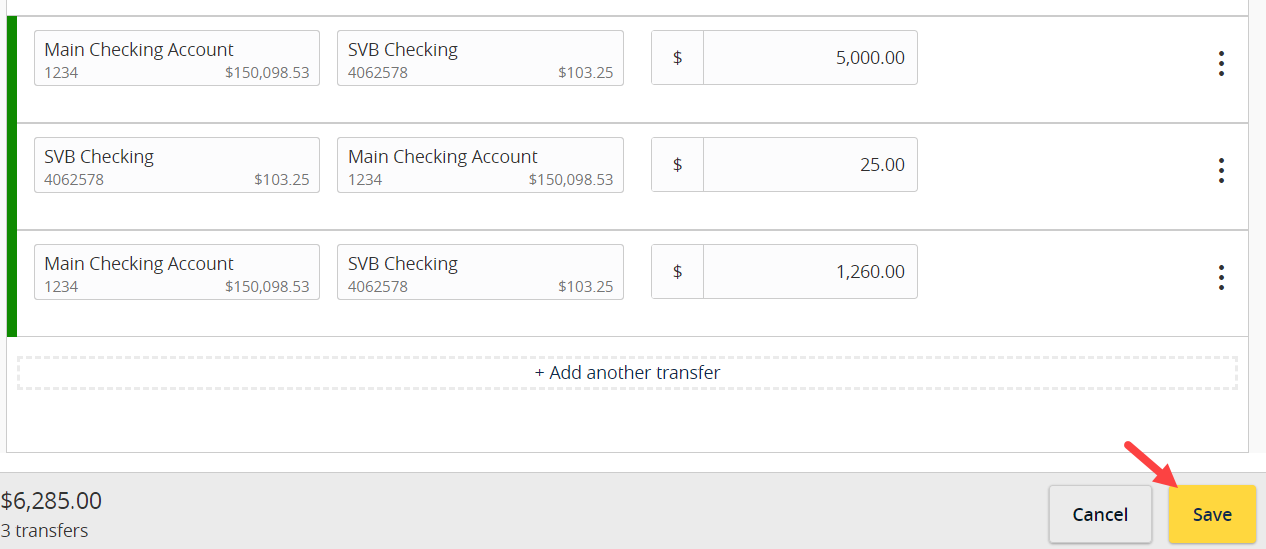
Step 5: Make sure the ‘From Account’, ‘To Account’ and ‘Amount’ for each transactions have been filled in.
NOTE: The yellow bar on the left of the table will turn green for each transaction once all required fields have been entered.
Click ‘+Add another transfer’ to add an additional transfer to the list.
Step 6: Click ‘Save’ to save the template for future use.
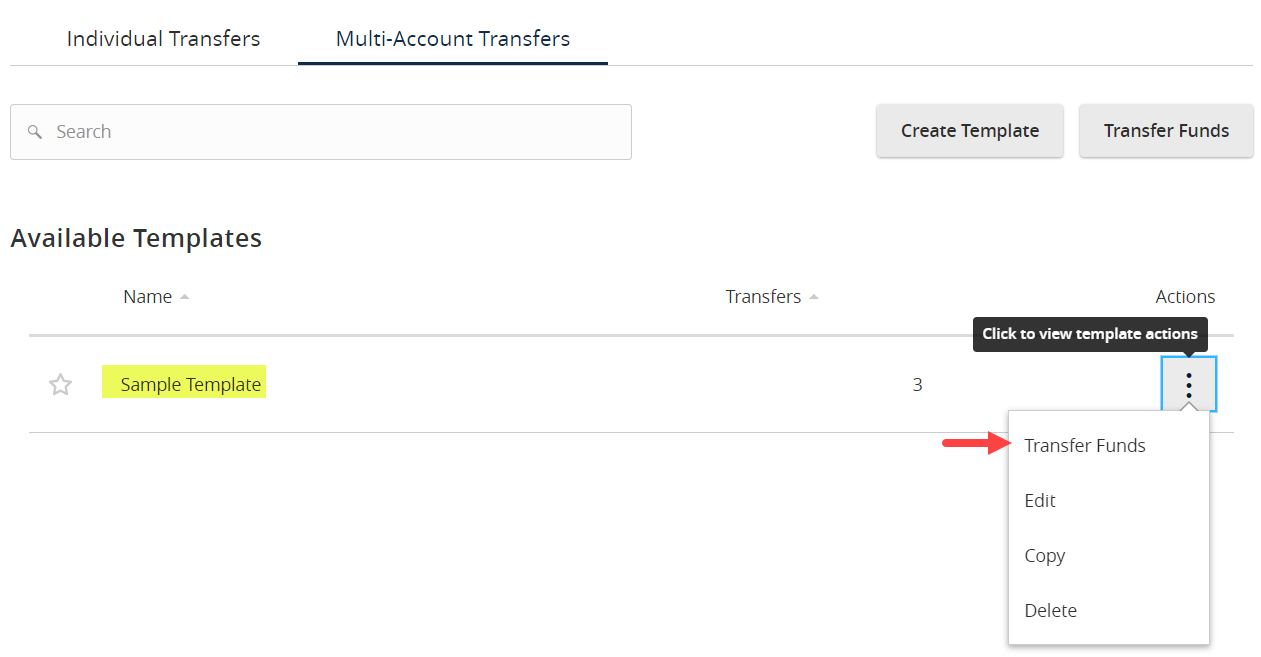
Step 7: Access the template on the Multi-Account Transfers screen. Select the template actions menu on the right and choose "Transfer Funds" to use the template.