|
Business Bill Pay requires an additional agreement be signed by an authorized representative of the company. Please inquire with your Relationship Manager or Cash Management Advisor or call (888) 322-2120, option 3 for more information.
|
Once your company has completed the agreements for Business Bill Pay, the service will be enabled within 2 business days. The designated Bill Pay Administrator on the submitted forms will have additional menu options enabled, however no other users will be enrolled until the Bill Pay Administrator takes action.
Please Note: the user that enrolls in the Bill Pay service on behalf of the company must be an account signor and will be automatically designated as the Level 1 user, meaning they are the Bill Pay administrator. For Corporate Edition enrollments, this user will be assigned to a dedicated "Bill Pay Admin" role, to which no other users may be assigned.
Reassigning the Level 1 administrator may only be completed by special request and can take up to 5 business days to process.
Enrollment process
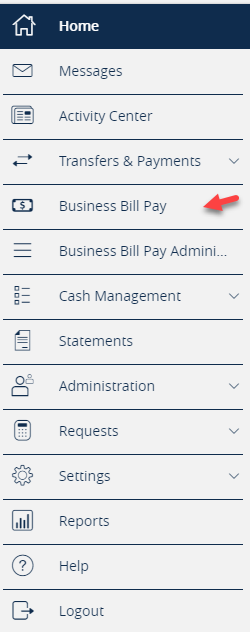
Step 1: To set up the service for the first time, navigate to the left menu and select "Business Bill Pay." Do not click on Business Bill Pay Administration Menu. This can be used after initial service enrollment.

Step 2: On the next screen, choose the desired account(s) to be used within the Bill Pay service and click Enroll and continue on to the Bill Pay screen which will open in a new tab in your browser.

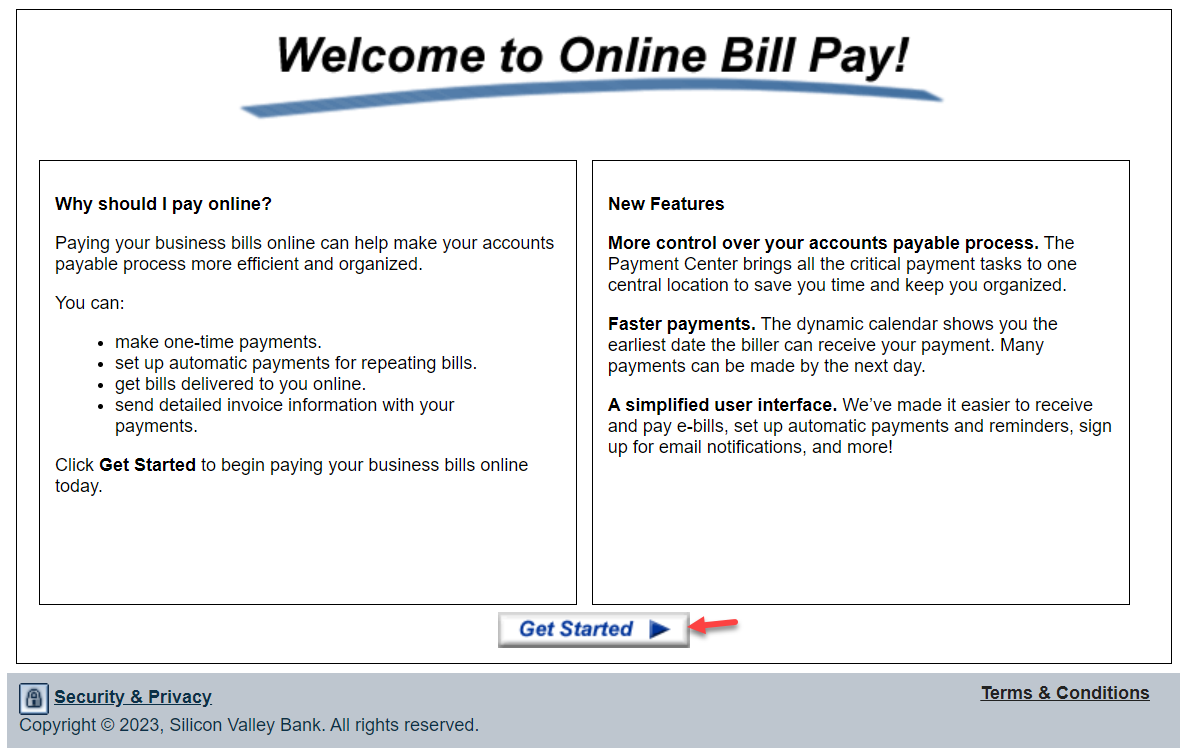
Step 3: Click Get Started if you wish to begin adding Billers and set up any payments, otherwise move on to the next step.

| Note: The "Welcome to Online Bill Pay" screen will display each time you access Bill Pay until a biller is added. |
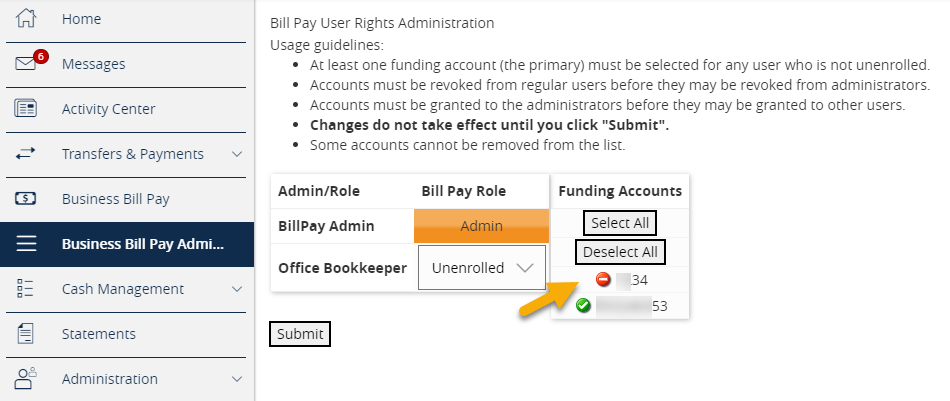
Step 4: Verify all funding accounts that will be used by any user by adding them to the Admin user first. Navigate to the “Business Bill Pay Administration” menu tab. You will see the Bill Pay User Rights Administration screen, where you will enable additional accounts that can be made available in Bill Pay.

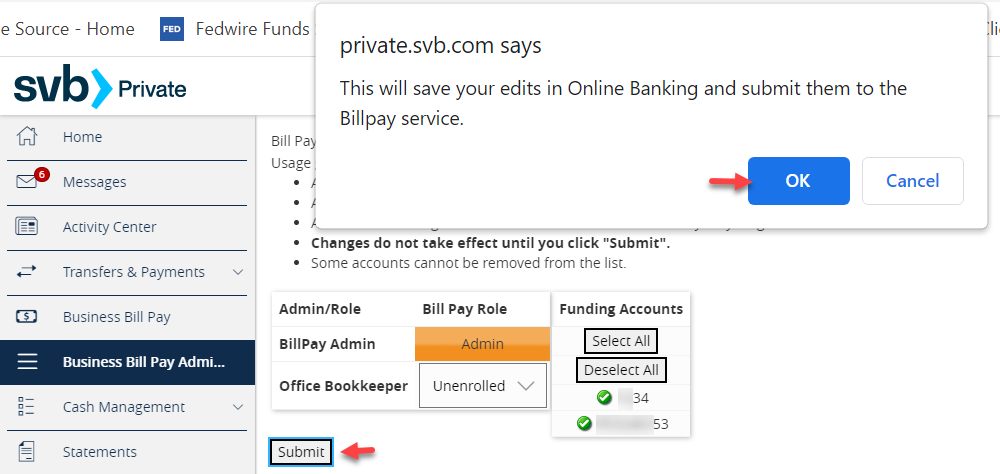
Step 5: Click on the “Admin” role within the “Bill Pay Role” drop-down column. From the list of available funding accounts that are displayed, click on the red circle for all funding accounts that this Admin user will have access to in Business Bill Pay to alter them from disabled (red) to enabled (green). Alternatively, the “Select All” and “Deselect All” buttons can be utilized. Click the Submit button and then “OK” on the confirmation dialog to confirm that the selected accounts will become available to all the Admin users.

At this point, the Admin user is enrolled in Business Bill Pay, has access to the selected Funding Account(s) for payments, and can now enroll other users in Business Bill Pay if applicable. Follow the instructions in this article about Managing Users in Business Bill Pay.