| This article applies to Business Client Edition only. |
Domestic and international wire transfers are enabled within your Business Digital Banking profile. Please note that all wires are subject to a 4:30pm ET cutoff. Approval for the wire must be obtained by the cutoff time on or before the selected Process Date.
To send a wire, follow these steps:
Step 1: Go to the Transfers & Payments menu and select "Payments & Wires".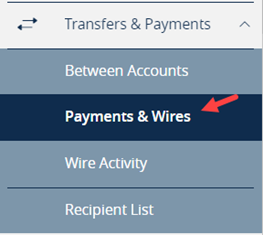
Step 2: Click "New Payment" and select "Domestic Wire" or "International Wire".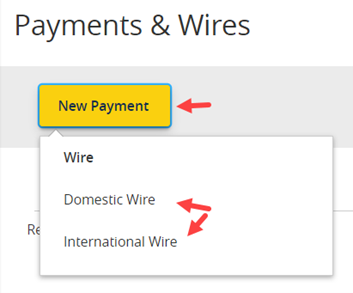
Step 3: In the Origination Details section, choose the Account from which you would like to send the wire. Only Checking Accounts may be selected. Also select the Process Date that you would like the wire to process, using today's date if you would like the wire to process immediately. 
Note: There is an option to create a recurring wire. Select "Set schedule" under Recurrence and choose how often the transaction should repeat and when it should stop.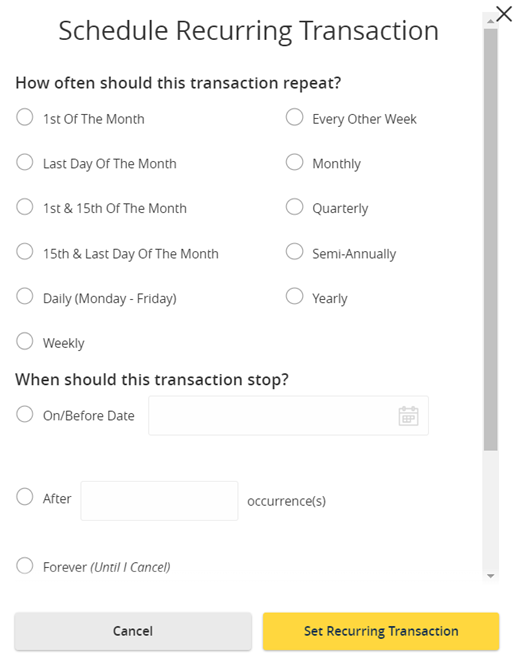
Step 4: Choose the Recipient/Account that you would like to send the wire to. If you have not set up any recipients, click "New Recipient".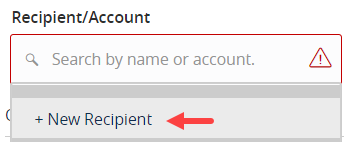
Step 5: Enter the "Display Name" for the recipient. This will be the recipient name within Digital Banking, but will not be sent to the recipient in the wire transfer. Also you can enter the recipient email address if you would like the option to generate an email notification when a wire is sent to them. 
Step 6: Enter the Account Number at the receiving financial institution (FI).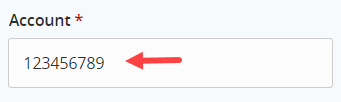
Step 7: Search for the Beneficiary FI by entering the FI name or the FI's ABA/Routing number. Select the appropriate FI option from the list. Keep in mind that many FI's will have multiple routing numbers and addresses depending on the receiving branch. The wire recipient/beneficiary should provide this information within their wire instructions. Once the appropriate FI is selected, the Beneficiary FI fields will automatically populate. If you elect not to use the search function, the Beneficiary FI fields can be entered manually as well.
Example of an FI search:
Populated Beneficiary FI fields: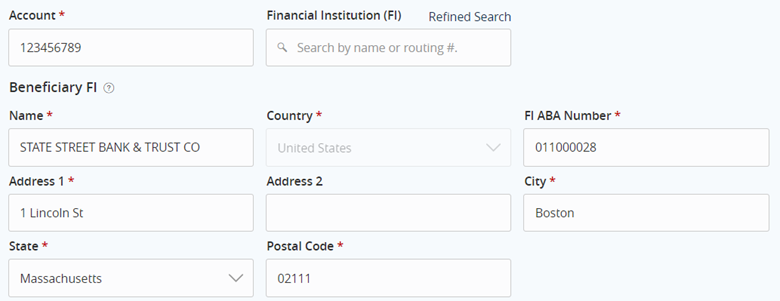
OPTIONAL: If the beneficiary has provided instructions that indicate an Intermediary Bank is to be used, complete the Intermediary Bank information. Otherwise, skip this section.
Step 8: In the Recipient Details section, enter the name of the person or company you are paying in the Wire Beneficiary field as well as complete the Address fields for the recipient (their home or place of business). Click "Save Recipient".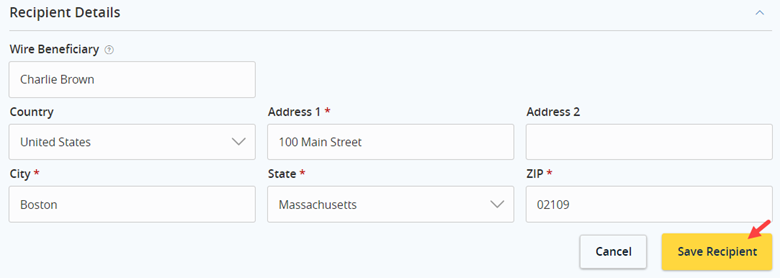
Note: The Recipient is saved and can be selected from the Recipient/Account list for future wires. If any updates need to be made to the Recipient, select "Recipient List" under Transfers & Payments. 
There are options to Edit or Delete the Recipients as well as view Payment History for wires processed to that Recipient.
Step 9: Enter the amount of the wire. If the recipient was set up with an email address and you would like them to be notified when the wire is sent, check off the Notify Recipient box.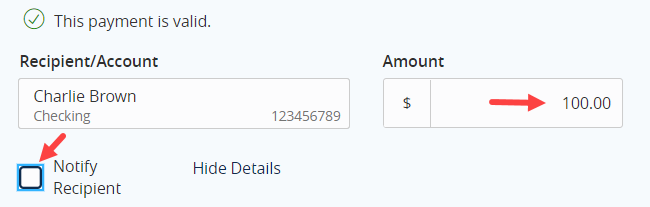
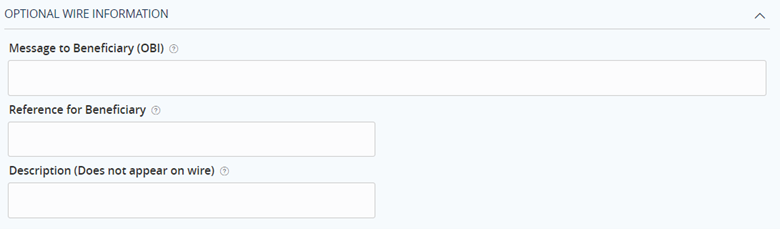
OPTIONAL: If the beneficiary has provided additional instructions, use the Optional Wire Information fields for this detail:
- Message to Beneficiary (OBI): this field will be sent along with the wire information and will inform the beneficiary as to additional instructions (for example, which customer account number to apply the funds to). If you are wiring to a brokerage firm that uses a bank to receive funds, such as National Financial Services or Charles Schwab, enter the "For Further Credit" (FFC) information in this field to ensure that your funds are applied to the proper brokerage account.
- Reference for Beneficiary: this field will also be sent along with the Message to Beneficiary, however some banks do not pass the information on to the beneficiary, so only use it if you are instructed to do so.
- Description: use this field as an internal "memo" so that you have a description of the wire payment's purpose. It will not be sent with the wire and will only appear for you within Digital Banking.

Step 10: Click "Draft" to draft the wire.
Another Digital Banking user with approval entitlements will need to approve the wire. Wire payment approvals require the Symantec VIP soft token which provides enhanced security in the desktop or mobile application. For detailed instructions on downloading and activating the token, please click here: Digital Banking Soft Tokens
Step 11: The Approver should log in and select the Activity Center.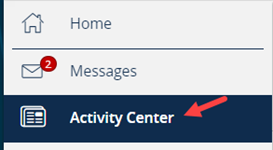
Step 12: All payments reside in the Activity Center and those requiring approval will be in the Drafted status. Click on the Actions menu on the far right. To view the payment details, select "Toggle Details". When ready to approve the wire select "Approve".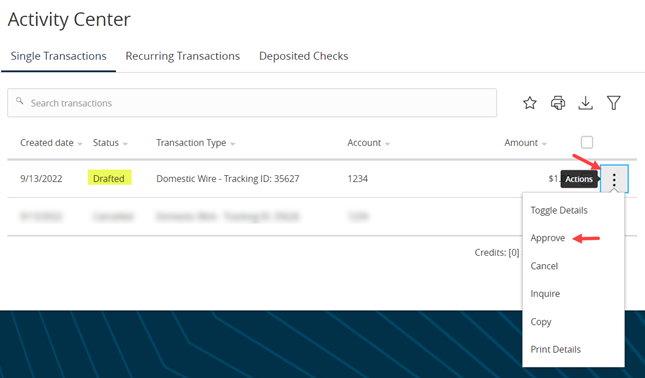
Step 13: Click on "Confirm" to approve the payment.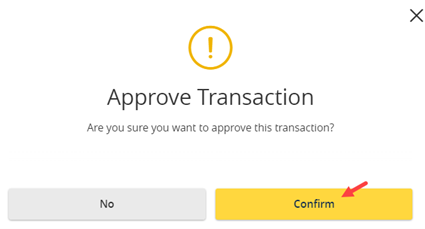
Step 14: Open the VIP access app and enter the six digit code. Then click "Next".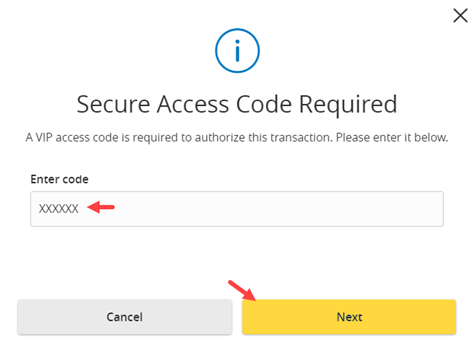
Note: if this is the first time using your VIP token, you will be required to enter the next token code after it has changed.
A message will display when the transaction has been successfully approved. Your wire will now process on the chosen process date.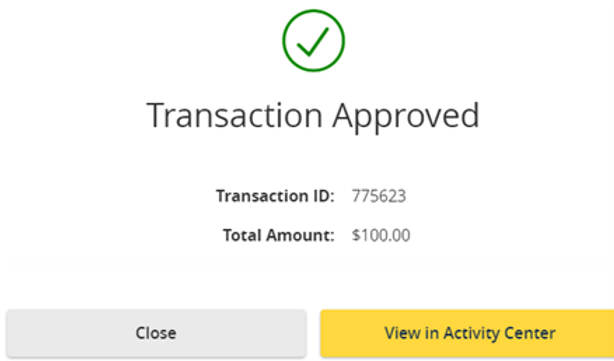
Note: multiple wires can be approved at once in the Activity Center by selecting each wire and clicking on the Actions menu at the top.
Choose "Approve Selected" to approve all of the wires.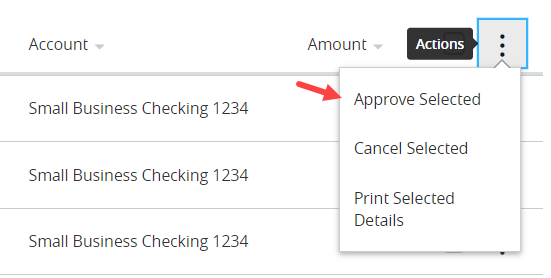
For additional questions and help, please call our Concierge Desk at (888) 322-2120.