NOTE: A ‘Recipient’ is an individual or company which is either debited or credited via ACH or wire.
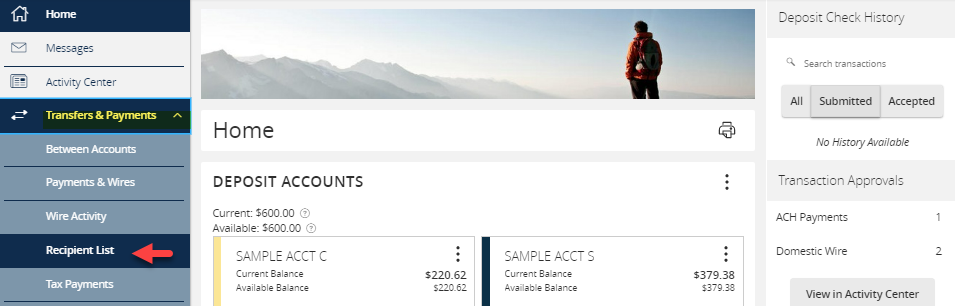
- Select the ‘Transfers & Payments’ menu and then select ‘Recipient List’.
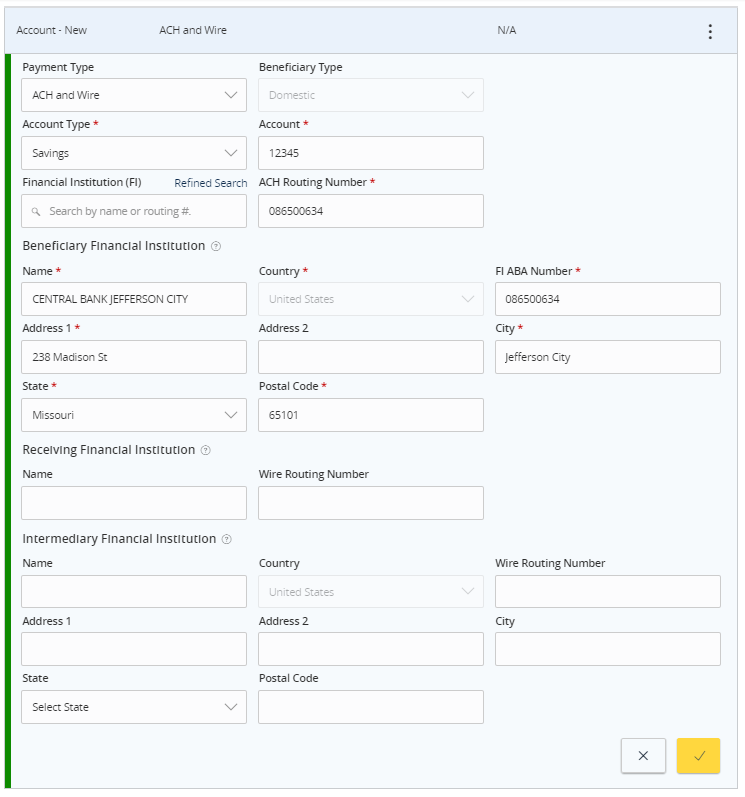
New Recipient - Click the ‘New Recipient’ button.

- Enter ‘Display Name and ‘Email Address’.

NOTE: ‘Send e-mail notifications’ generates an e-mail to the recipient at the time the ACH or wire transaction is processed by Silicon Valley Bank. The email message does not contain confidential information. - Select the ‘Payment Type’ which designates the transaction type(s) for which the account is eligible.
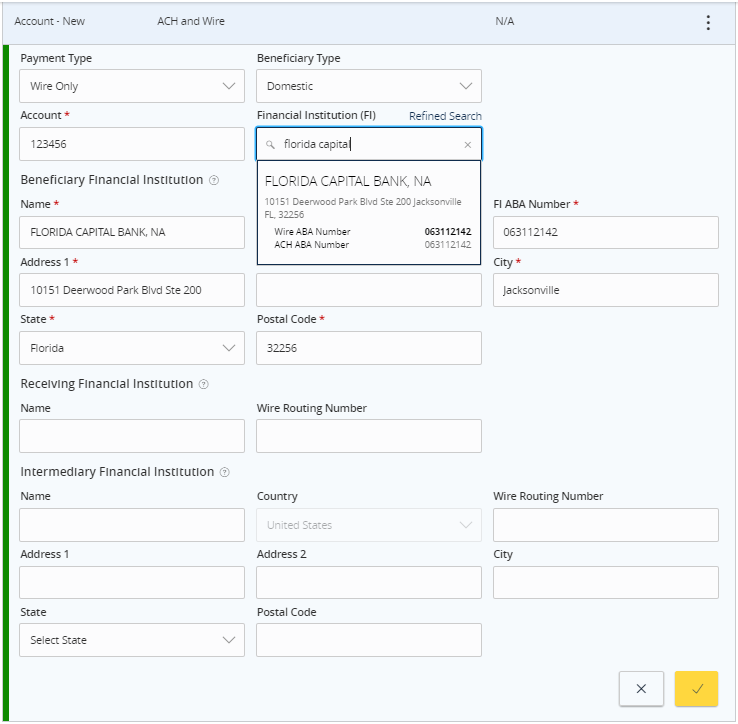
a. Payment Type ‘ACH and Wire’ displays fields corresponding with both ACH and wires. Complete all required fields designated with an asterisk.
NOTE: The Financial Institution (FI) search function allows for the dynamic search of domestic banks and credit unions. Enter the FI name or ABA number in the field. When the desired FI has been selected, the corresponding ACH Routing Number and Wire Beneficiary FI information will automatically populate.
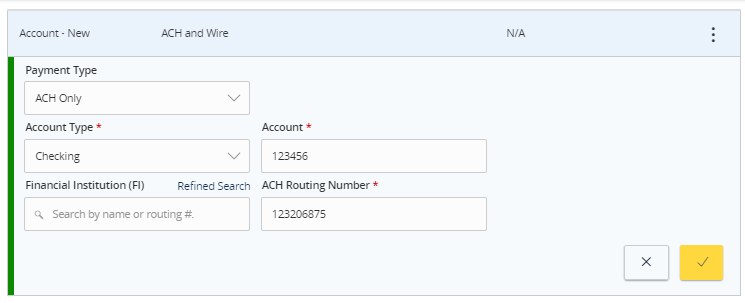
b. ‘Payment Type ‘ACH Only’ displays fields corresponding with only ACH. Complete all required fields designated with an asterisk.
c. Payment Type ‘Wire Only’ displays fields corresponding with only wires. Complete all required fields designated with an asterisk. - Click the check mark when the account setup is complete.
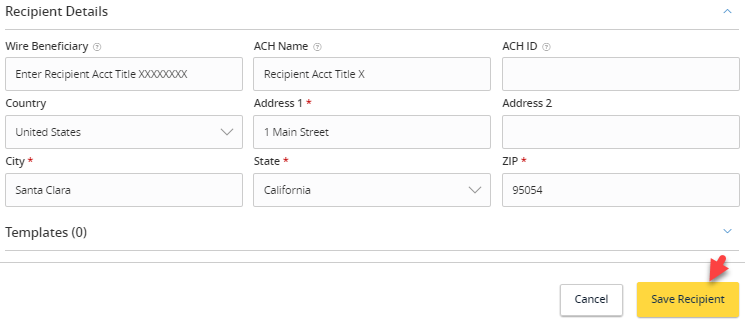
- Select ‘Add another account’ to add an additional account or select ‘Save Recipient’ to complete the setup.

- Complete all required fields in the ‘Recipient Details’ section.
NOTE: Address fields within ‘Recipient Details’ are for the recipient’s physical address. This is required for International Wire Transfers.
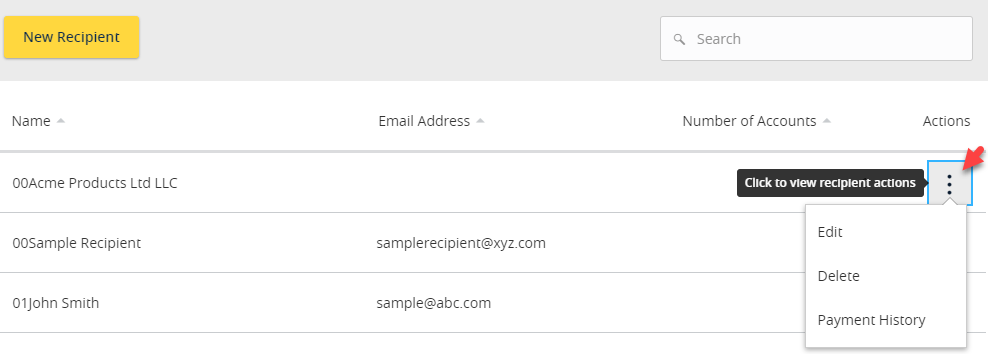
Existing Recipient
- Click the ‘Actions’ icon next to an existing recipient to display available options.
a. Edit the recipient.
b. Delete the recipient.
c. View online payment history for which the recipient was linked.