Access Positive Pay from Digital Banking by selecting Cash Management Services > Positive Pay.
Click on "Launch Advanced Options" to enter the Positive Pay Application in a new window.
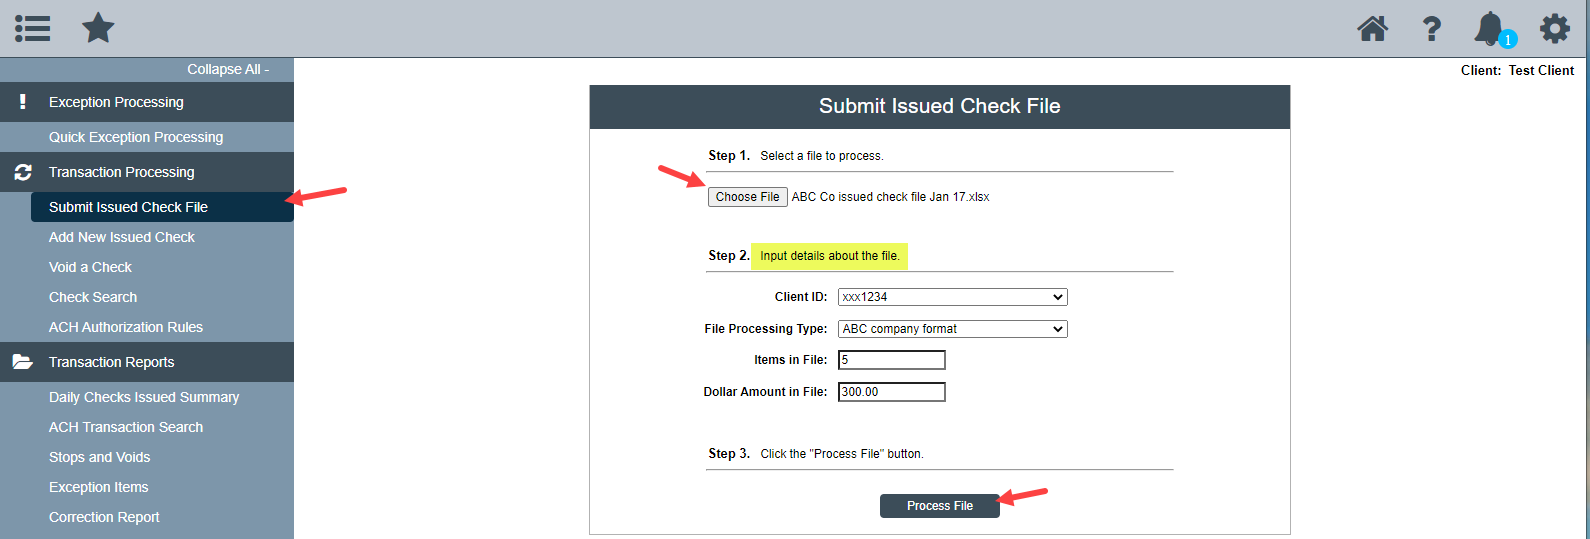
To submit a check issue file, select "Submit Issued Check File" from the toolbar. Choose the file you want to upload and input the file details including the number of items and total dollar amount of the file. This is for file verification purposes. The file needs to be uploaded before the checks are released to payees. Click on "Process File" to perform the upload.
After the file is processed, a message appears confirming if the file has been successfully loaded or letting the user know if there were any issues with the file. For example, if there was a duplicate check on the issue file, the Results column would indicate that the file was processed with exceptions. An email is also generated to the user letting them know the status of the file.

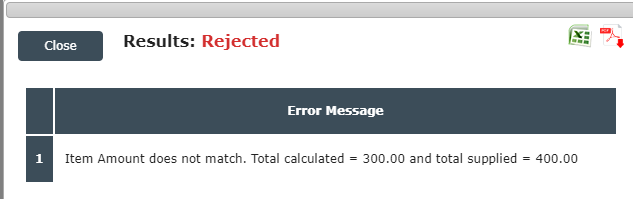
If the file is rejected, a pop-up window will appear with the rejection message and the reason for the rejection. See example below:
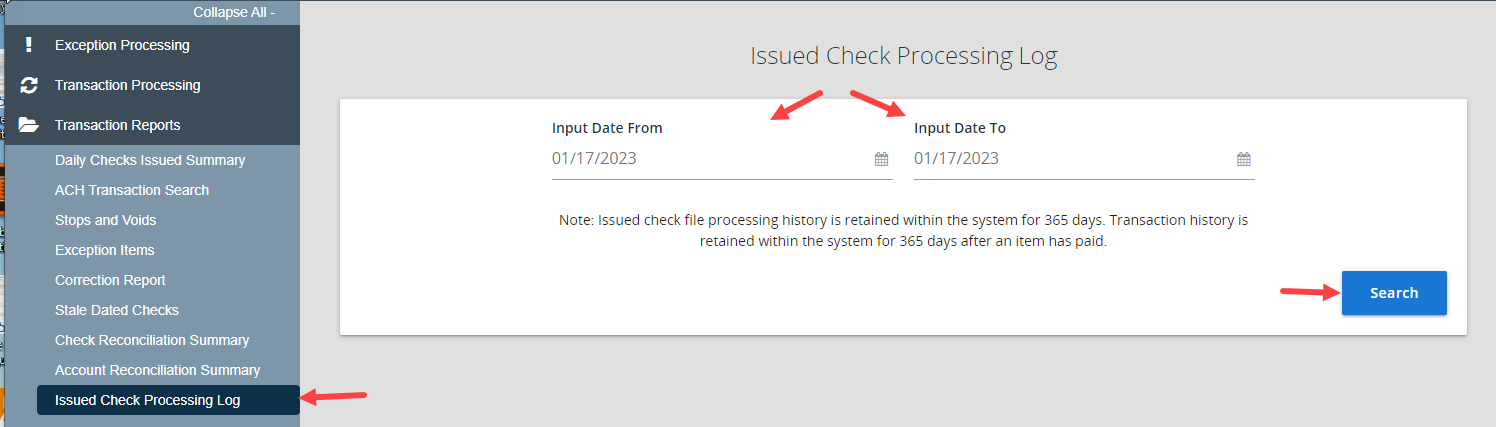
To view the results of file uploads, click on "Issued Check Processing Log". This report displays the totals and results of the issue files. Select the appropriate date range and click "Search".
To view the details of the record or download the file, select the three dots to the right of the file.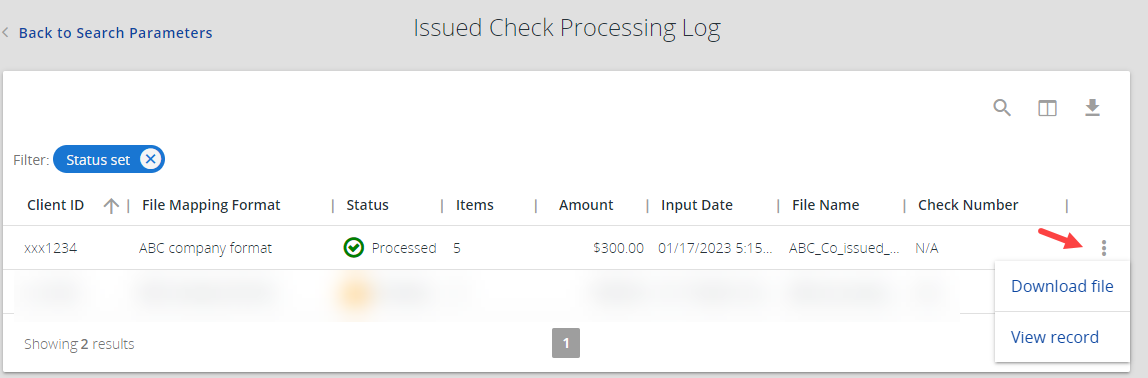
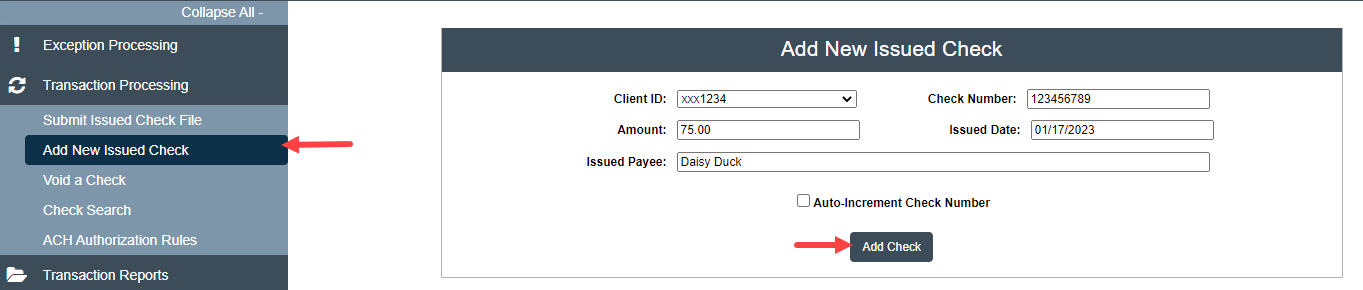
There is the option to add a single check if needed without uploading a file. This may be for one-off processing or if a check is missed in the file upload. Select "Add New Issued Check" from the toolbar and complete the necessary check information. Then click "Add Check".